
Download Creality Slicer 3D Printing Slicer Software (Latest version 2026)
Welcome to Creality Slicer the ultimate 3D printing slicing software. Effortlessly convert 3D models into G-code and achieve high-quality prints with ease.
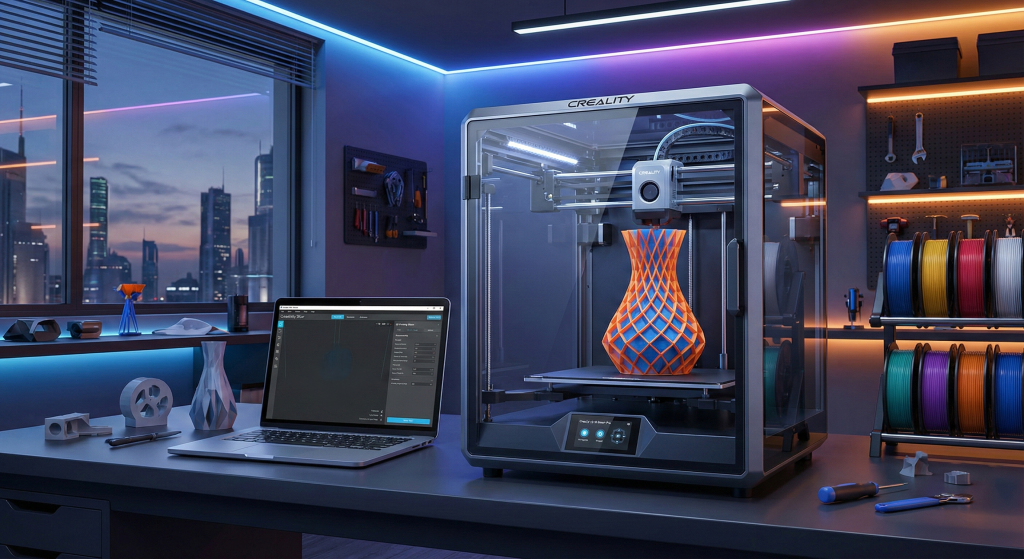
Creality Slicer is where your 3D ideas stop being “just files” and start becoming real, touchable parts. Instead of wrestling with endless menus and mystery settings, you get a clean, Creality-focused workspace that speaks the same language as your Ender or CR printer. Drop in an STL, pick a quality preset, tweak a few sliders, and you can literally watch your model transform into detailed toolpaths, layer by layer, before it ever touches the bed.
At the same time, it’s not “just for beginners.” Under the friendly interface is a Cura-class engine with serious depth: per-model settings, fine-grained control over walls, infill, speeds, supports, retraction and more. As your skills grow, Creality Slicer grows with you, turning from a simple “slice and go” helper into a powerful tuning lab where you can squeeze out sharper details, stronger parts, and faster print times.
What is a Creality Slicer in the 3D-Printing Workflow?
In FDM/FFF 3D printing, the slicer is the “translator” between your 3D model and your printer. You design or download a model (usually STL, OBJ, or 3MF), and the slicer turns that geometry into G-code: line-by-line movement and extrusion instructions your printer understands.
Creality Slicer is Creality’s Cura-based FFF slicer, tuned specifically for their own printers (Ender, CR, K-series, etc.). It uses Cura’s open-source slicing engine under the hood but ships with Creality’s own printer profiles, presets, and branding.
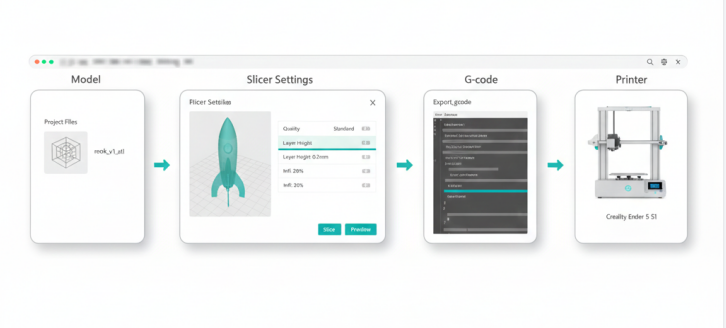
In practice, that means:
For most Creality owners, this gives a smoother out-of-box experience than starting from a totally generic slicer profile.
Download Creality Slicer
Choose the correct Creality Slicer installer for your operating system. Each version has its own minimum hardware requirements and update date. Make sure your device meets the required specs before downloading.
It’s important to select the correct version of the tool for your operating system. Each build has its own minimum requirements, file size, and release date, and more. Therefore ensure you’re downloading the right one for your setup.
Creality Slicer for macOS
Creality Slicer for Windows
Creality Slicer for Linux
Editions & Licensing (Free)
Unlike tiered paid versions, Creality Slicer is provided free of charge. It supports beginners and advanced users alike:
What Makes Creality Slicer Stand Out?
Creality Slicer stands out by combining Cura’s powerful engine with Creality-tuned profiles for faster, smoother, and more reliable prints.
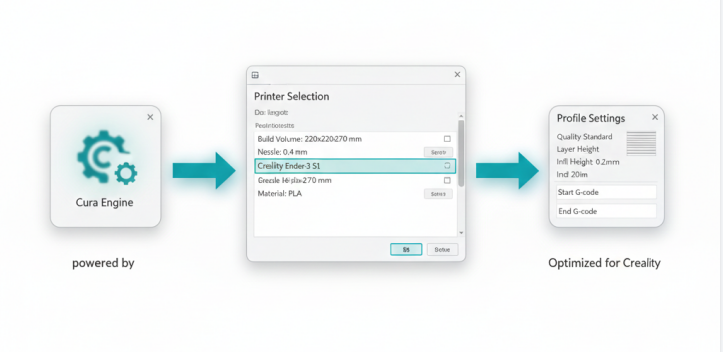
Creality-Optimized, Cura-Powered Engine
Creality Slicer is tailored specifically for Creality FDM printers while leveraging Cura’s proven slicing engine. It comes with correct bed sizes, nozzle presets, acceleration limits, and start/end G-code already configured. This means you get better plug-and-play results, especially on newer Creality models that generic Cura profiles may not yet support.
Ready-Made Printer & Material Profiles
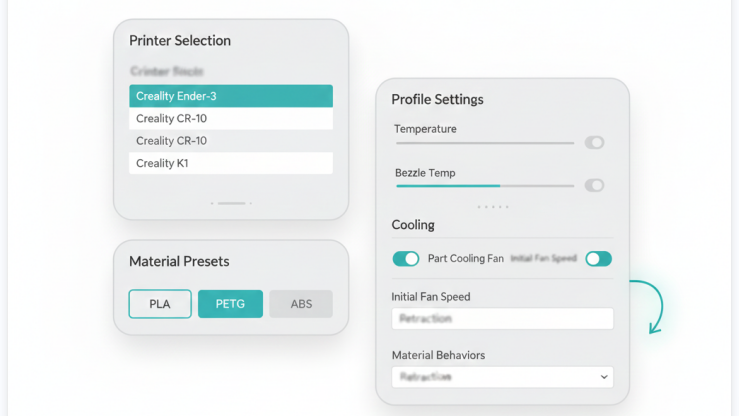
The slicer includes factory-tuned profiles for nearly every Ender, CR, and K-series printer. It also offers filament presets for PLA, PETG, ABS, and more, including temperature and cooling behaviors. You can duplicate and customize these profiles or create your own, saving time and eliminating manual configuration errors.
Dual Workflow: Simple or Expert Mode
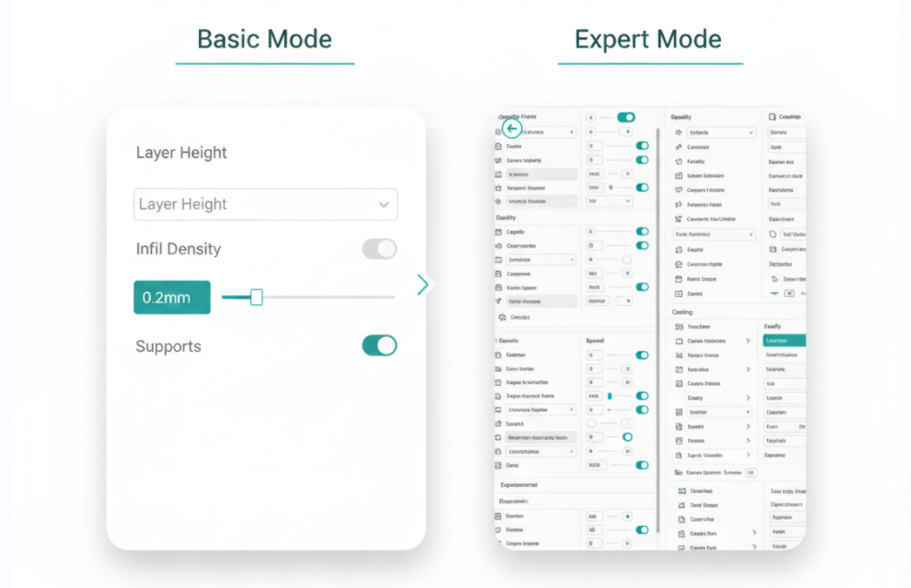
Creality Slicer uses a two-level interface system: Basic mode for beginners and Expert mode for advanced users. Basic mode shows only essential settings like layer height, infill, and supports. Expert mode unlocks hundreds of Cura-class parameters, perfect for fine-tuning performance, strength, speed, and print quality.
Rich Visual Preview & Path Simulation
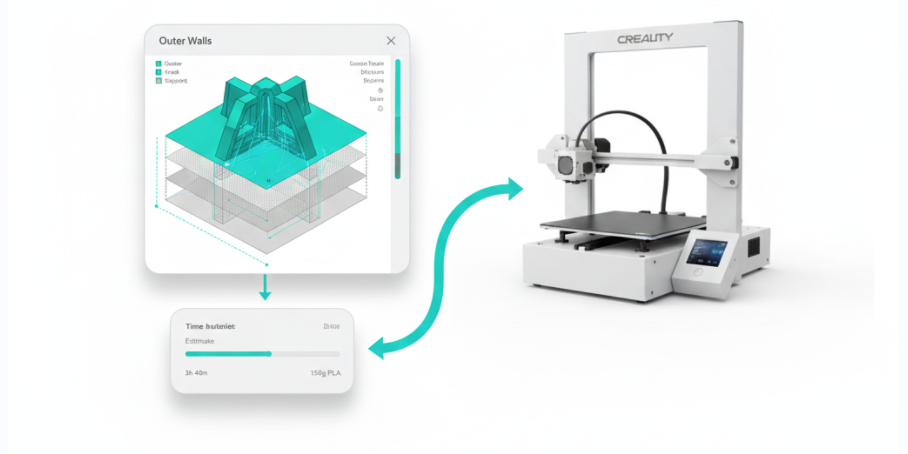
The slicer includes detailed layer-by-layer previews that display walls, infill, supports, and travel paths in color-coded form. This makes it easier to detect missing supports, weak thin walls, and risky travel moves before printing. With quick time and material estimates, you can optimize your setup before committing to a long print.
Built-In USB Printing Support
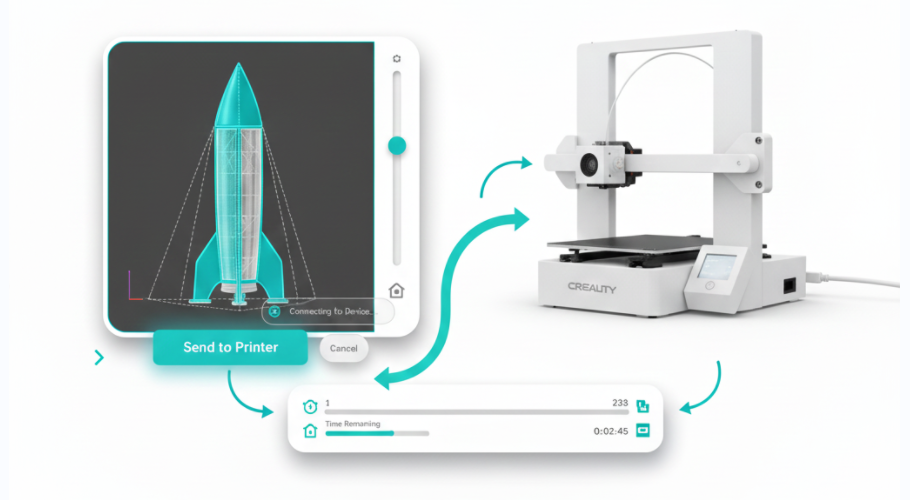
Beyond the classic SD-card workflow, Creality Slicer supports direct USB printing for many Creality machines. You can slice a model, send it straight to the printer, and start or monitor the print from your computer. This is particularly useful for rapid iteration, small test models, and users who prefer a connected printing experience.
How to Download & Install Creality Slicer (Windows, macOS, Linux)?
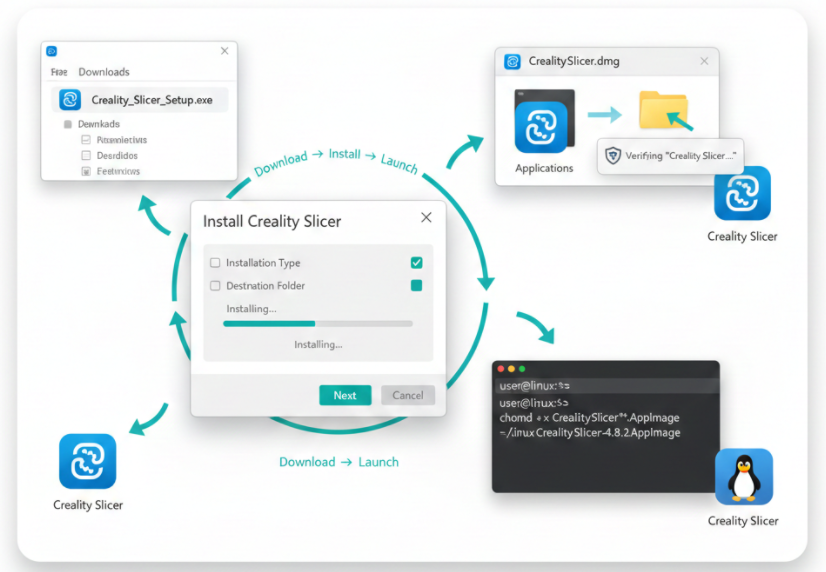
Below are detailed, step-by-step installation instructions for each operating system.
Download Creality Slicer on Windows (Step-by-Step)
1. Download the Installer
2. Run the Installer
3. Follow On-Screen Setup Wizard
4. Launch Creality Slicer
5. Check for Updates
Creality Slicer on macOS (Step-by-Step)
1. Download the macOS Package
2. Open the DMG File
3. Drag Into Applications Folder
4. Allow macOS Security Permissions
macOS may block apps from non-App Store developers.
If you see a warning:
- Go to System Settings → Privacy & Security
- Scroll to the bottom
- Under “Allow apps from…”, click Allow Anyway
- Reopen Creality Slicer
5. Launch Creality Slicer
6. Update to the Latest Version
Creality Slicer on Linux Download (Step-by-Step)
Creality Slicer is available for Linux as a portable build (AppImage or equivalent package depending on version).
1. Download the Linux Version
2. Make the AppImage Executable
Open your terminal and navigate to the download folder:
3. Run Creality Slicer
Execute the AppImage directly:
No installation is required—Creality Slicer runs as a standalone application.
Optional: Create a Desktop Shortcut
Most Linux desktops allow you to:
Post-Installation: First-Time Setup Checklist
Once Creality Slicer opens:
- Select your printer model (Ender, CR-Series, K-Series, etc.)
- Load the default printer profile
- (Optional) Add custom printers or tweak settings
- Download any new profiles or updates available
- Start slicing your first model!
What Are The Practical Tips for Creality Slicer Users?
Orientation & Bed Contact
- Put large flat faces on the bed where possible to improve stability.
- Avoid orientations that require extreme support unless necessary.
- For tall, skinny parts:
- Add a brim for extra grip.
- Consider splitting the model or adding fillets/chamfers in the CAD model for stability.
Support Strategy
- Start with auto-generated supports, then refine:
- Remove supports on large, gently sloped surfaces that don’t really need them.
- Add extra supports under hooks, thin overhangs, and small protruding details.
- Use lower support density for easier removal.
- Increase Z-distance and use a smaller support interface if supports are leaving scars.
Infill & Shells
- General functional parts:
- 20–30% infill, 2–3 walls, 4+ top layers.
- High-strength parts:
- 30–50% infill, 3–4 walls.
- Display models:
- 10–15% infill, 2 walls, still enough top layers for solid roofs.
Remember: more infill = more filament + time, but not always dramatically more strength compared to adding walls/top layers.
Temperature, Speed & Cooling
If prints look rough or fail:
Creality Slicer gives you full Cura-class control for these settings, build small calibration prints (cubes, stringing towers, temperature towers) and adjust incrementally.
Troubleshooting Common Creality Slicer Workflows
Problem 1: Print Won’t Stick to the Bed
Likely causes
Bed not leveled.
Z-offset too high (nozzle too far from bed).
The bed surface is dirty or oily.
Insufficient first-layer squish or too fast first-layer speed.
What to try
Re-level the bed and adjust Z-offset using the paper test.
Slow first-layer speed and slightly increase Initial Layer Flow.
Clean the bed with isopropyl alcohol.
Add a brim and increase bed temperature slightly.
Problem 2: Stringing Between Parts or Features
Likely causes
Retraction not tuned.
The temperature was too high.
Travel moves, crossing open space slowly.
What to try
Enable or increase retraction distance & speed.
Lower nozzle temperature in small increments.
Increase travel speed and, if available, use “Combing” options to keep moves within the part.
Problem 3: Poor Surface Finish / Visible Layer Lines
Likely causes
Layer height too large for part detail.
Speeds too high.
Mechanical vibration or loose belts.
What to try
Reduce layer height (e.g., from 0.28 to 0.2 or 0.16 mm).
Slow outer wall speed.
Check belt tension and frame stiffness on the printer.
Problem 4: Top Layers Not Closing (Gaps/Holes)
Likely causes
Too few top layers.
Low infill percentage under the top surface.
Slight under-extrusion.
What to try
Increase Top Layers (e.g., from 3 to 5+).
Increase infill density a bit.
Nudge flows up slightly or calibrates your E-steps in firmware.
Problem 5: Profiles Don’t Exist for a New Creality Printer
Sometimes Cura lags behind new printer releases while Creality Slicer already includes them. Third-party reviewers have noted that Creality Slicer often has profiles for brand-new Creality machines earlier than stock Cura.
If you can’t find your exact printer in Cura:
Check if Creality Slicer has an updated profile.
Import those machine settings into other slicers if you wish, or simply use Creality Slicer as your main tool.
Quick-Reference Checklist for Daily Use
You can drop this near the end of your blog as a sidebar or summary box:
Final Words
Creality Slicer is more than just a “basic companion app” to your Ender or CR printer. It’s a capable, Cura-based slicer tuned for the hardware you actually own, designed to help you get from idea to finished part with less guesswork.
With:
It’s a powerful environment to learn FDM slicing, refine your skills, and eventually push your Creality printers close to their full potential. Used thoughtfully, Creality Slicer doesn’t just generate G-code. It becomes your central control point for quality, reliability, and efficiency across your entire Creality FDM workflow.